
Alright well let's get down to it!
Wood Frames - Sande Plywood (common 1/2 in. x 4 ft. x 8 ft; Actual 0.472 in. x 48 in. x 96 in.)
We ended up using 7 sheets!
Each sheet makes:
(4) - 8' sections x 20" tall
(4) - 4" x 8'
(12) - 1 7/8" x 8'
(4) - 1 1/2" x 8'
Then (16) - 1 7/8' X 20" and (8) - 1 7/8" x 6" for the cross cuts.
Also a lot of Gorilla Glue and 18 gauge finish nails.
I gave Dallas Mayo (our stage builder) my concept art for the frame and he ended up changing it to make it stronger, lighter, and more cost effective than what I initially rendered out on the computer.
We secured the frames on our chainlink that was already present from previous stage designs and hung aircraft cable (you can pick it up at your local hardware store) wherever it needed to be flown.
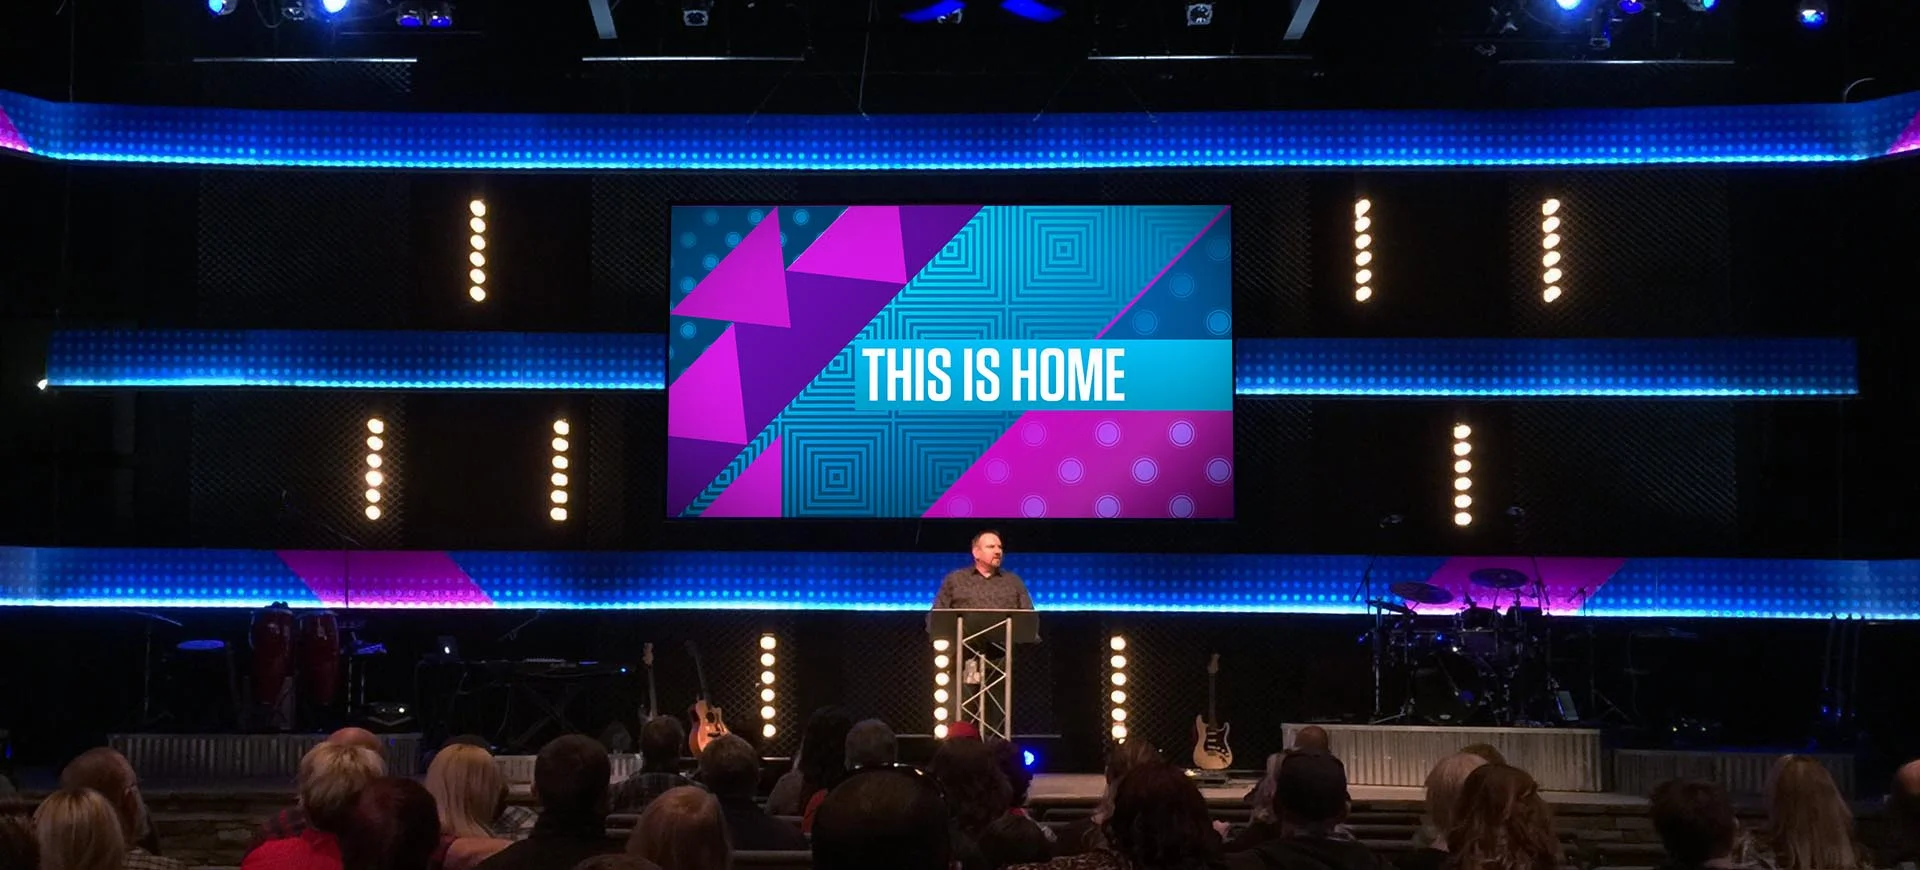
Graphics - We made the design downloadable so you can check it out or use it yourself! The graphic was printed by a local company that wrapped the graphic onto chloroplast sheets.
Tip: Make sure the print company is using Black Chloroplast or you'll end up having white edges in some spots... Lesson learned.
96" wide x 20' tall
72 Resolution in Photoshop
We also wanted a matte finish on the graphic otherwise it would be glossy and that's not what we were going for.
We used LED light spools for uplighting for the chloroplast
Vanities - We used 9 cheap bathroom vanities and meant to use 11! The vanities are 36" with 6 bulbs in them.
Vanity Concept: http://youtu.be/GJ6jTuVyIAg
We ended up using several junction boxes that connected all the vanities together! Plugged them into one circuit and bam, it's done!

Finished
Lastly having people to help was essential, we had a crew of volunteers of around 8 to 10 skilled people working hard! This would not be possible without them and it took 2 days total for the installation process. So a huge thanks to all of them! :)
Any questions feel free to email me at: vlv@wbfwmc.com or leave a comment below.
-Vincent